No two customers of yours are the same. However, groups of them will share similarities, and the fastest way to make your marketing efforts more impactful is to treat them this way. Wikipedia defines segmentation as “the process of dividing up mass markets into groups with similar needs and wants.” In digital marketing, the ability to identify demographic and psychographic groups and then program your communications and product suggestions among them is more achievable than ever and is essential to online business success.
With the technology at our disposal for doing this in the digital realm, there are few excuses for not implementing it. In this post we’ll cover how to set it up audience segmentation with WordPress.
Segmentation is at the core of personalized digital experiences
We’ve spoken about the importance of content personalization before, which refers to the tailoring of highly relevant content to your audiences to drive engagement and conversions. To make meaningful connections with your potential buyers, personalization is a must. Segmentation, however, is what must come before personalization; doing it well will set you up for highly-effective personalization that will bring you higher engagement and better marketing results.

Creating audience segments with WordPress
You’re probably already segmenting your audiences when running your PPC ad campaigns, but are you bringing the same level of personalization to your website? While standard WordPress doesn’t provide you with the ability to segment audiences, Altis’ Audience Manager lets you create visitor segments for your WordPress website visitors using available user data.
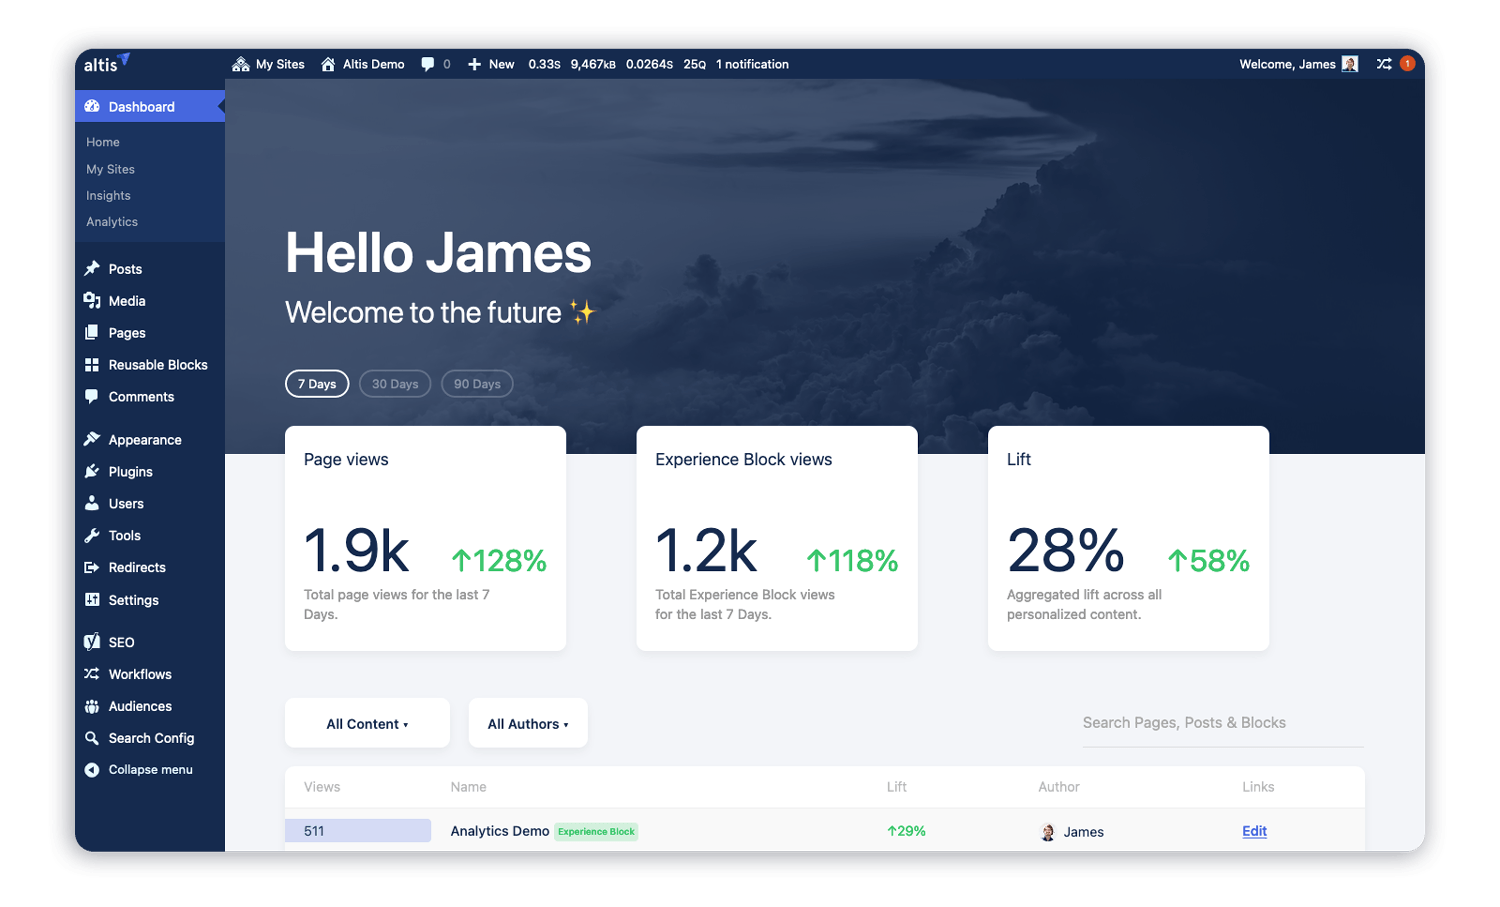
Altis is a Digital Experience Platform for WordPress
Before you get underway with enriching your pages with targeted content using the Personalized Content Block, you need to go through and define the segments you want to start targeting. With the following steps, you can get started with audience segmenting on WordPress.
Step 1. Plan out your segments
This probably goes without saying, but: you need to have a strategy in place before diving into programming your audiences in the Audience Manager. Who are your target buyer personas? What demographic information do you know about them? What is Google Analytics telling you about your current visitors? Are you noticing trends? You’ll want your Altis audiences – like your personas – to be consistent with other audience segments you’ve created in other areas of your business, so make sure you have an overall strategy in place aligning all your audience characteristics.
Step 2. Create a new Audience

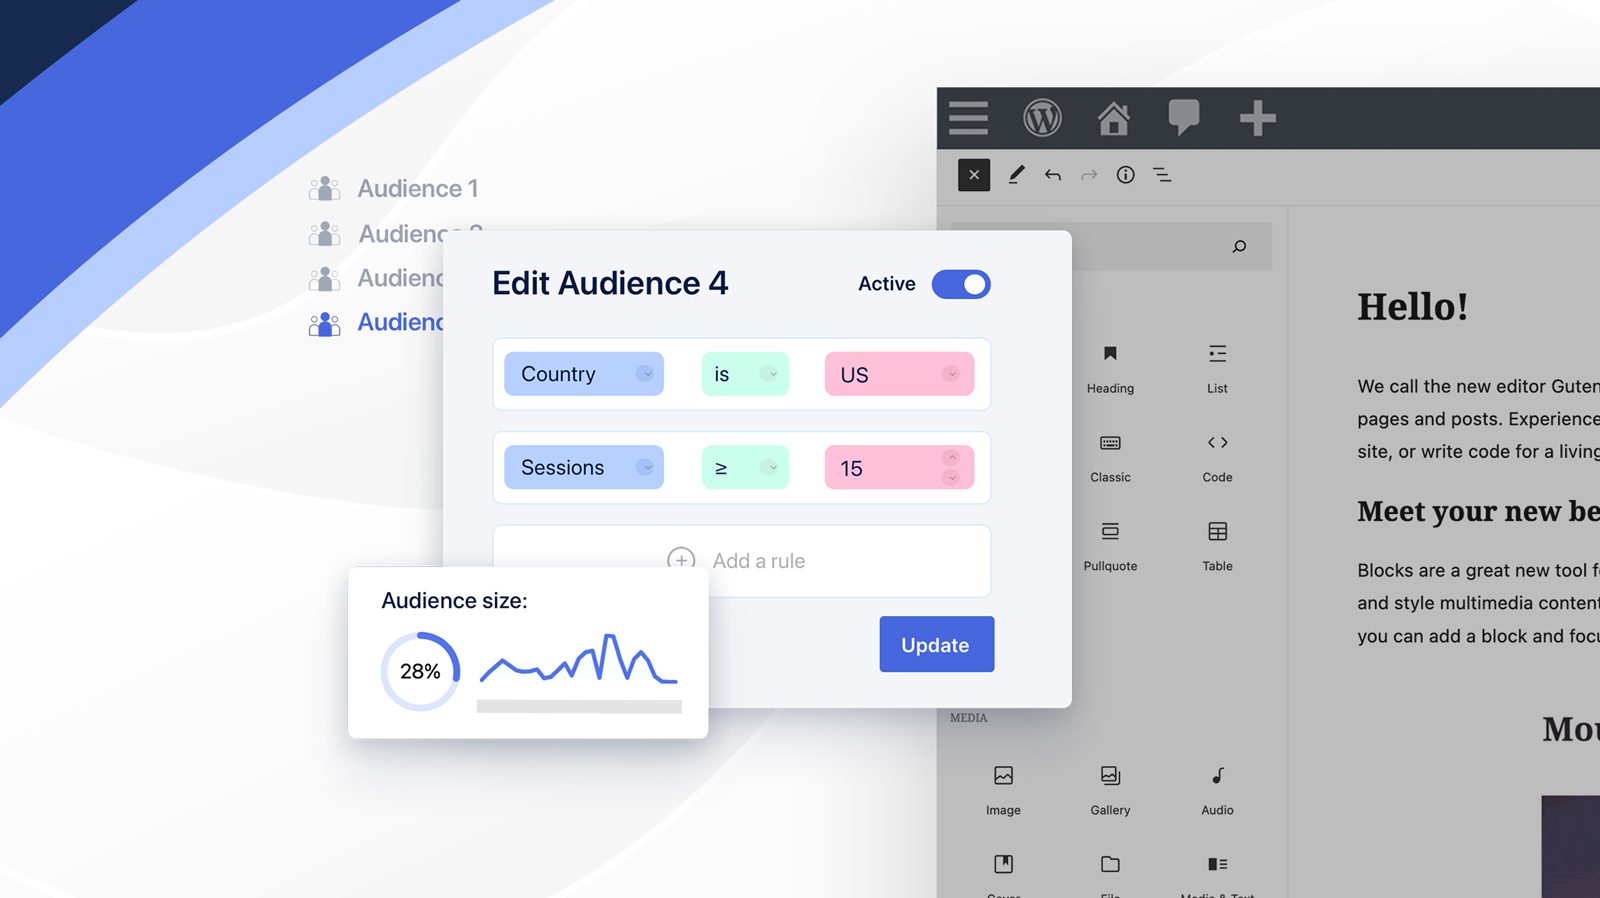
Navigate to the “Audiences” menu item in Altis. This will bring you to the Audience Manager interface, where you can edit your audience segments and create new ones.
Click “Add New” to begin building out a new audience.

Step 3. Set the filters that define your Audience
You can now set conditional rules to filter your traffic and feed streams of it into this “bucket”.
Click “Select a field” to start choosing variables and assign conditions that must be met to place a visitor into that bucket.
You have a wide range of rule variables to choose from, including UTM parameters, operating system, geography, language, referrer, and more. The ability to build Audiences on your UTM data lets you remarket to your engaged campaign contacts from your website, giving you even more relevant and organic touchpoints.

Click the drop-down menu next to the group name to control the AND/OR function of the group’s rules, ie. all rules must be met for the visitor to be included in the audience OR any one of them.
As you start to add more rules, you’ll see the “Audience size” meter adjust and provide an indication of the portion of your total traffic that this Audience comprises. The more rules you add, the more finely segmented your audience will be, meaning that you can start to target extremely granular portions of your market.
Create separate groups to produce even more combinations of rules and conditional filter types and for more control of the Audience’s segmentation.
Step 4. Set your Audience live
Once your groups and rules are in place, either click “Save Draft” to save the Audience for future editing or click the “Active” toggle to set it immediately live.

Note that nothing will visibly change on your website for the time being – remember, segmenting your WordPress audiences is just the beginning. Once you begin to embed personalized Experience Blocks into your pages, you can “plug in” your Audience to your content variants and start delivering relevant digital experiences that are meaningful to your website visitors.
Ready to try Altis for yourself? We’d be happy to walk you through the Audience Manager and other digital experience features.